JupyterHub
Announcement: Jupyterhub on the HPC Class cluster retired on July 19th, 2022
Please utilize the jupyterlab module on Open OnDemand instead.
Access HPC Class OOD: https://hpc-class-ood.its.iastate.edu/
Introduction
Jupyterhub provides a platform to serve Jupyter notebook for multiple users. The hub is integrated with Okta for standardized login experience and with slurm to queue and manage jobs on the class cluster. It has a easy to use user interface to create and customize conda environments and also provide support for Python and R.
Accessing Jupyterhub
Jupyterhub for class cluster is accessible at https://class-jupyterhub.its.iastate.edu
Users will be greeted with a prompt to login to Jupyterhub using Okta.
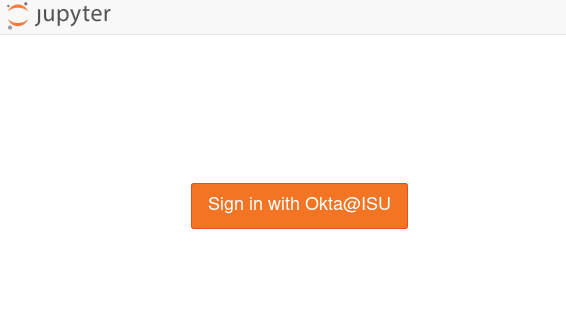
Login with your netid and password (Go to the next step if you are already logged in)
Select your preferred way to Okta Verify (*** UPDATE *** - 2nd factor authetication is optional at this moment)
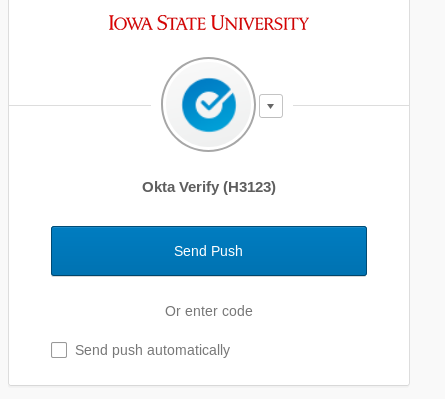
If you are having issues logging in, email hpc-help@iastate.edu
The home page of Jupyterhub has different job profiles. These are based on the SLURM partitions for the cluster.
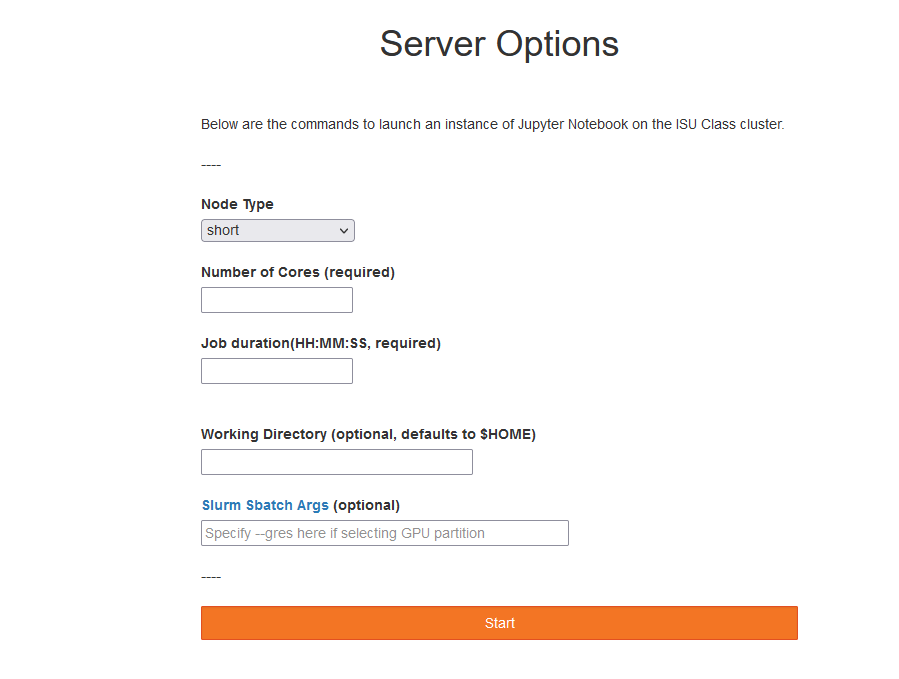
Available job profiles include -
| Profile | Resources |
|---|---|
| Short | 1 Core, 8GB Memory, 1 Hour |
| Compute | 1 Core, 8GB Memory, 6 Hours |
| Short_GPU | 2 Cores, 16GB Memory, 1 Nvidia K20m GPU, 1 Hour |
| GPU | 8 Cores, 64GB Memory, 1 Nvidia K20m GPU, 6 Hours |
Launching Jupyterhub Session
Select a profile suitable for your class and then press spawn. There maybe a slight delay for the page to register your request.
While your request is being processed, you'll be put on the loading screen.
Avalability and GPU Nodes
The cluster is usually available and should accommodate everyone - the only caveat is with the GPU nodes as each request consumes 1 GPU(There are a total of 16 GPUs in the cluster)
If the cluster is busy and there are not enough resources available, your request may time out(Timeout = 2 Minutes). In such case, click on the Jupyter logo to go back to the home page and start over.

Once granted allocation, the page will redirect to a standard Jupyter notebook interface.
Jupyter Notebook
To launch a new Python 3 Notebook click New and then select Python3 or select an existing notebook.
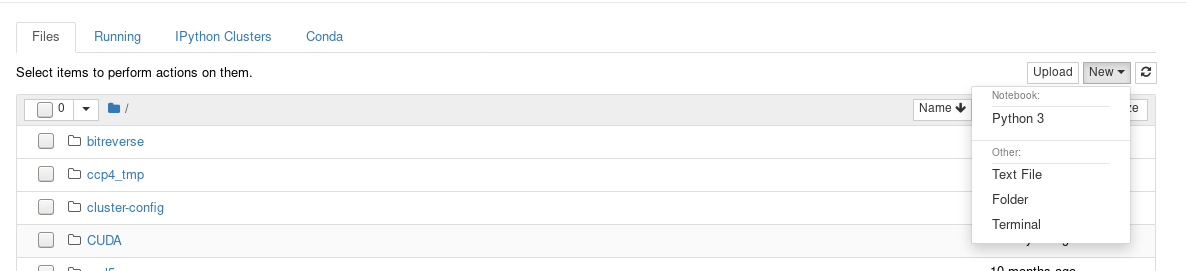
This should launch a Python3 notebook in a new tab
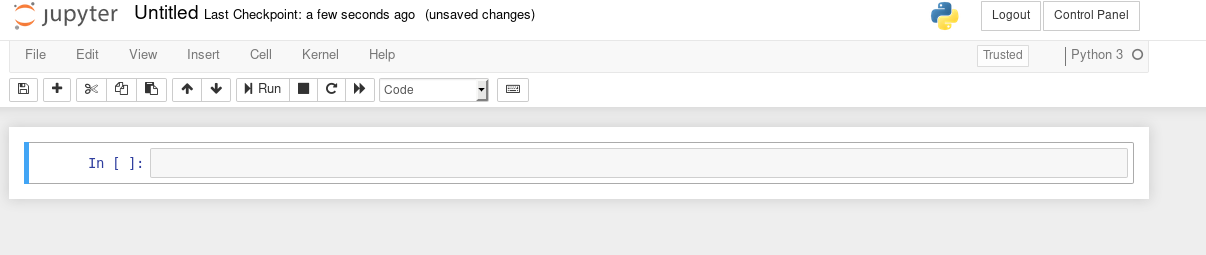
To change the name of the notebook, click on "Untitled" and rename
Shell commands on Jupyter notebook
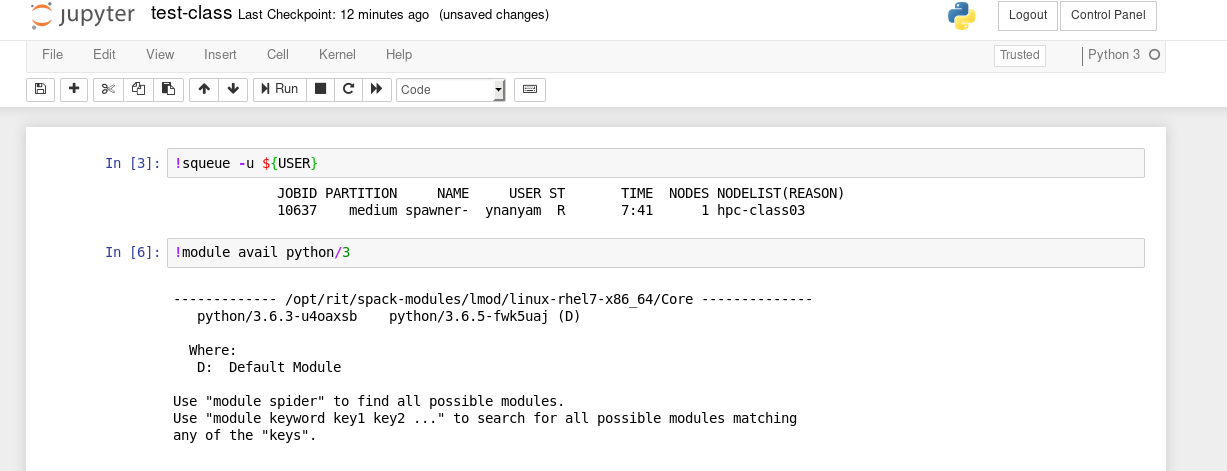
In addition to writing and executing code, notebook can also be used to run shell commands by prefixing the commands with '!'
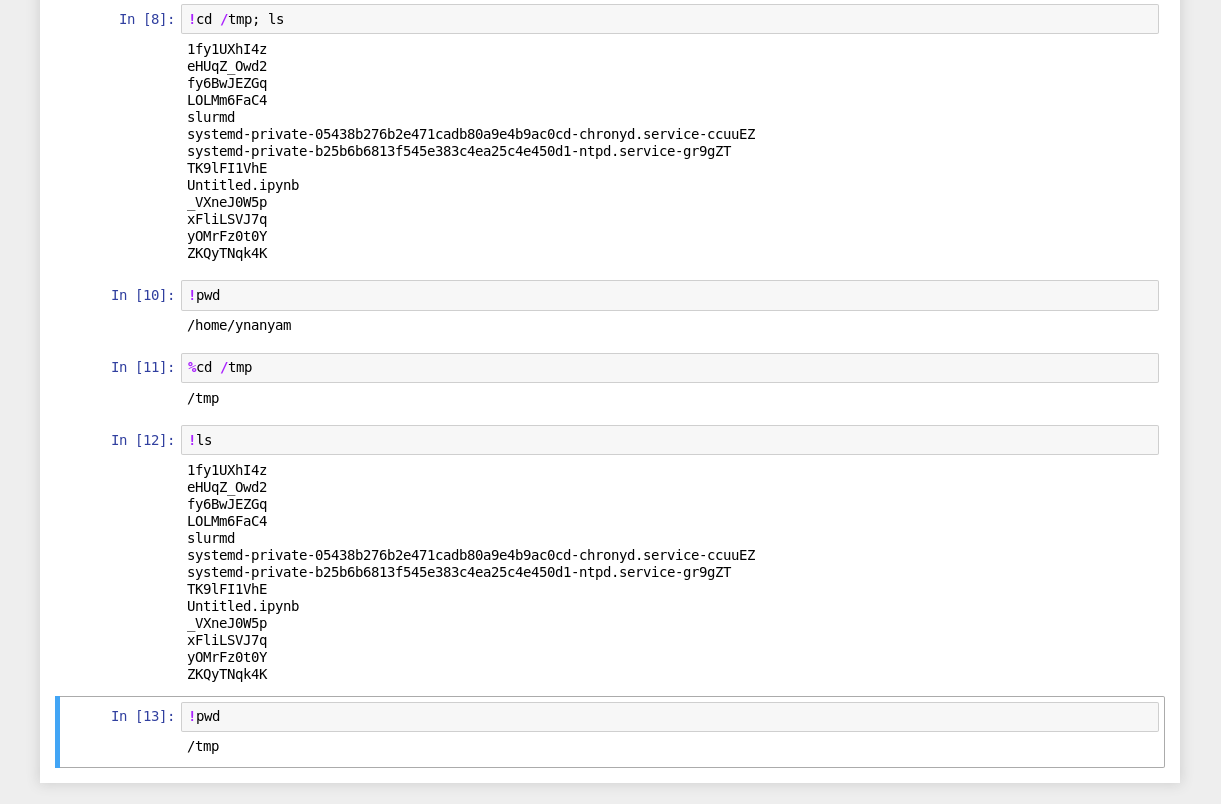
Not all shell commands can be useful - for example, "!cd /tmp; ls" will change to the tmp directory and list the contents of it. But your working directory has not changed.
To change your current working directory, you need to invoke magic commands by prefixing them with "%"
For complete list of magic commands see - https://ipython.readthedocs.io/en/stable/interactive/magics.html
Creating custom conda environments
The default conda environment for Jupyterhub is very basic and does not include most packages required for a class. Users also do not have privileges to add/modify python packages of the default conda environment.
It is recommended that the users be made aware of this and make them create their own custom environments that is suitable for their class.
To create a new conda environment - From the home page, select "conda" tab and press the "+" button
Type in a name of the environment(ME332 in this example) and select a language(Python2, Python3 or R)

Once the environment is created, it will show up in your conda environment box.
To add packages to the environment - start by selecting the environment and search for the required packages. This example installs numpy, scipy and matplotlib to ME332 environment.
Search for "numpy" and select the required packages.
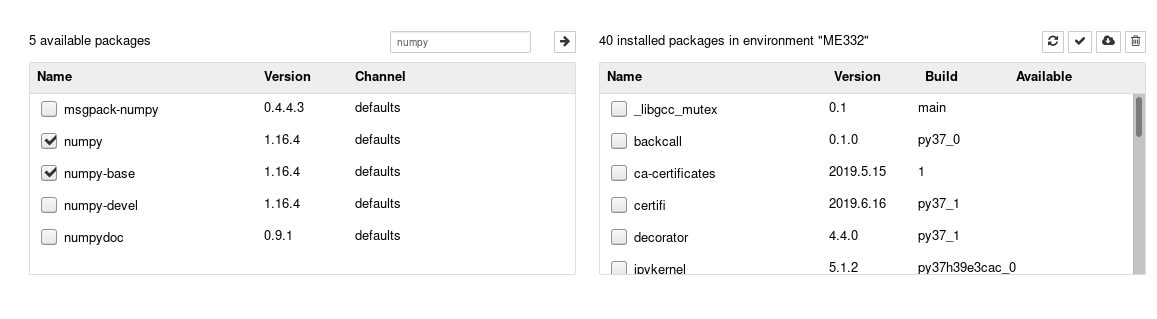
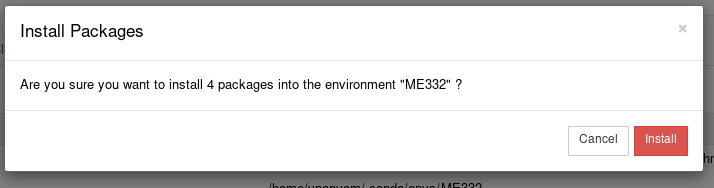
Follow this by searching and selecting "scipy" and "matplotlib". Install the selected packages by pressing the right arrow and confirming the install
Depending on the number of dependencies, it may take a while for this to complete.
Quotas
Conda environments are installed in the home directory which has 5GB of quota. Keep track of the space available in your home directory before installing packages. Use ptmp for general storage needs.
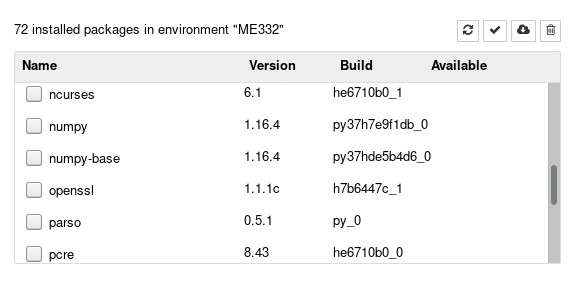
Once the installs have completed, the number of installed packages have changed.
Selecting non-default conda environments
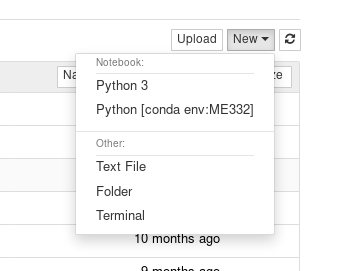
New notebooks
From the home page, select new and select the desired environment
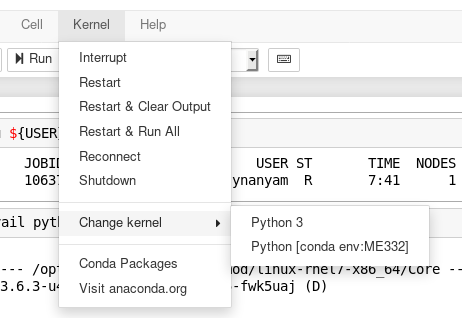
Existing notebooks
To change the environment of an existing notebook, open the notebook → Kernel → Change Kernel → Pick the environment
Wait for the kernel to start and you should see the current kernel on the top right corner of the page
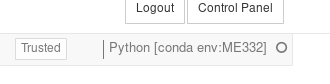
This change is persistent so this only needs to be done once.
Logout and Control Panel
Logging out of Jupyter notebook doesn't kill an existing session. Users can log back in and continue where they left off. But once logged off, Okta requires users to authenticate to log back in.
Closing the browser tab will not effect the current session and users can access class-jupyterhub.its.iastate.edu without signing into the hub.
Use Control Panel to completely exit out of the session. In the control panel the users are presented with two options, "Stop My Server" and "My Server"
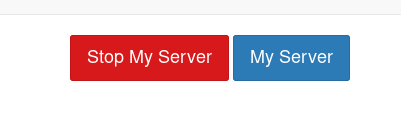
"My Server" takes you back to your existing session.
"Stop My Server" stop your existing session, halts your notebooks.
To start a new session, click "Start My Server" or click the "Jupyter" logo on the top left corner of the page

At this moment, launching multiple servers is not supported.